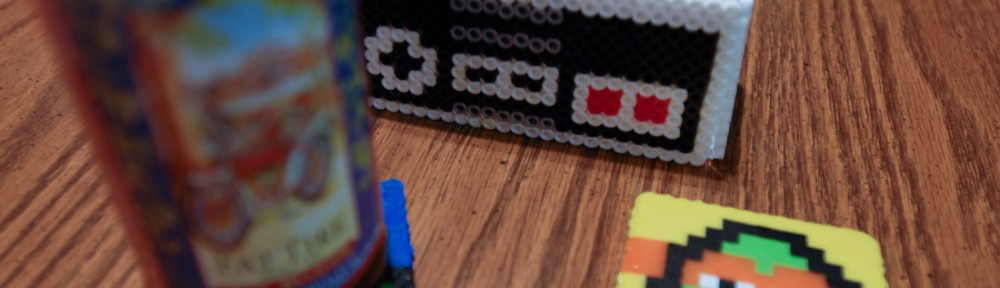
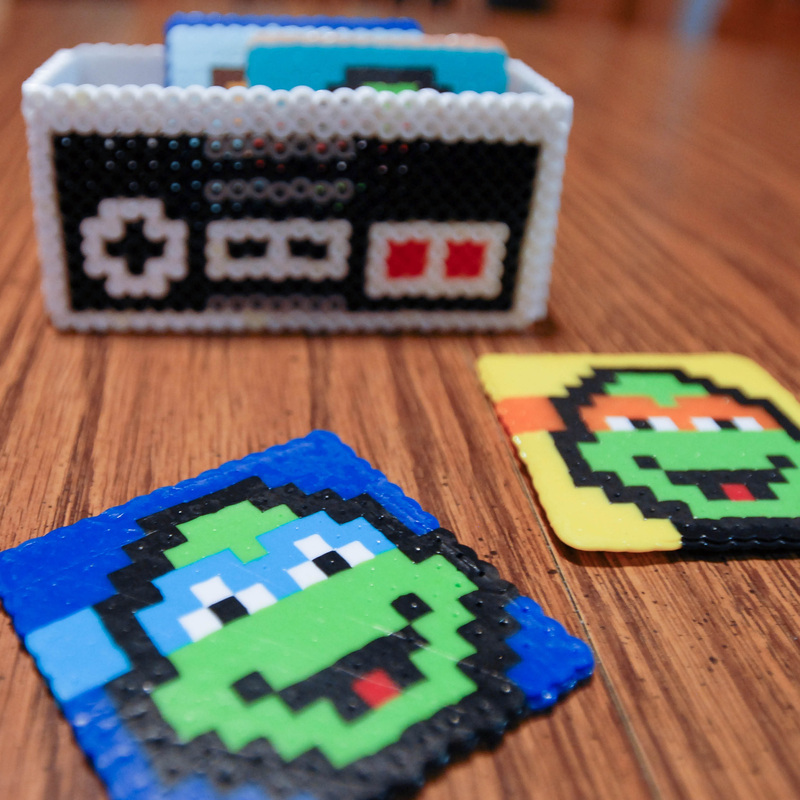
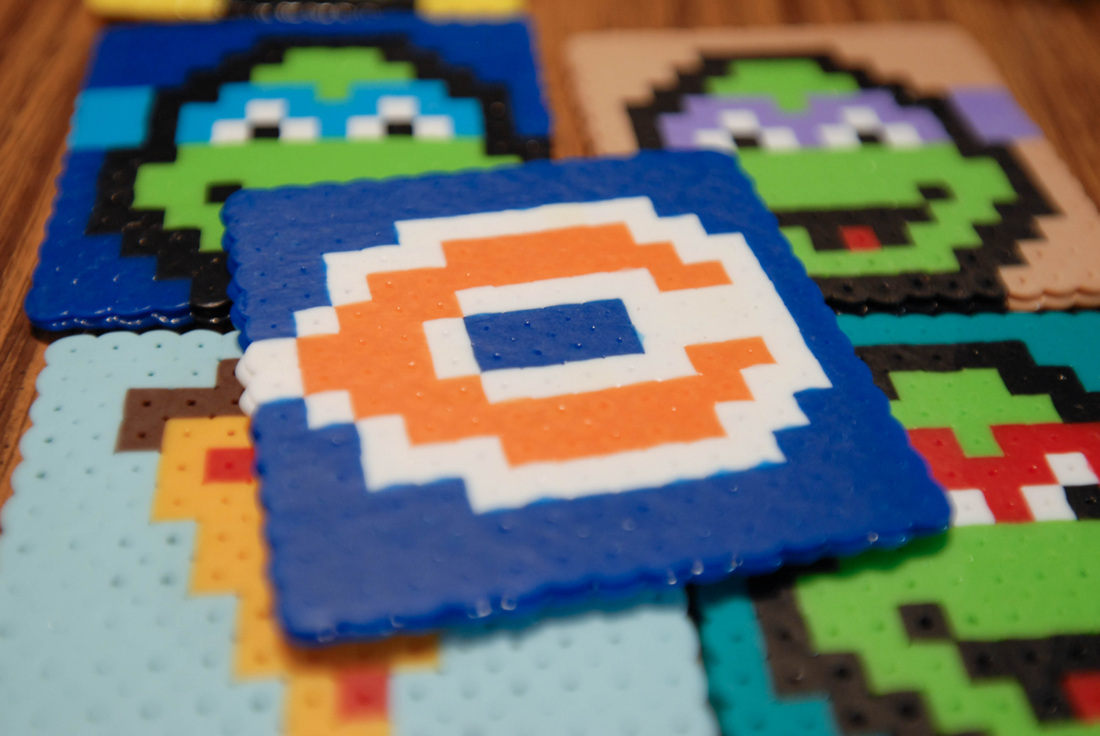
This is yet another Christmas present that I made last season. I have to give full create for the coaster idea over to Megan at Polish the Stars. She made some wonderful Super Mario coasters that I fell in love with. After talking it over with my brother we decided that I should make ninja turtles for my cousin instead. Here is what I came up with:
Ninja Turtle 8-bit Coasters
Materials
- Perler beads
- Cork adhesive lining
- Hot glue
Tools
- Iron / Ironing board
- Large perler bead board
- Hot glue gun
- Perler bead paper
- Box cutter or scissors
Instructions
I am not going to go through a step by step for this project. I feel like most of the world has used perler beads and if you haven’t just read through the instructions that they come with. I will give you one tip though. Right after you are done melting the beads with the iron, wrap the perler paper around the finished product and place it between two heavy books. This will prevent the finished product from curling. After the coaster is cooled, keep it wrapped in the perler paper and iron the reverse side, this is if you would like both sides melted.
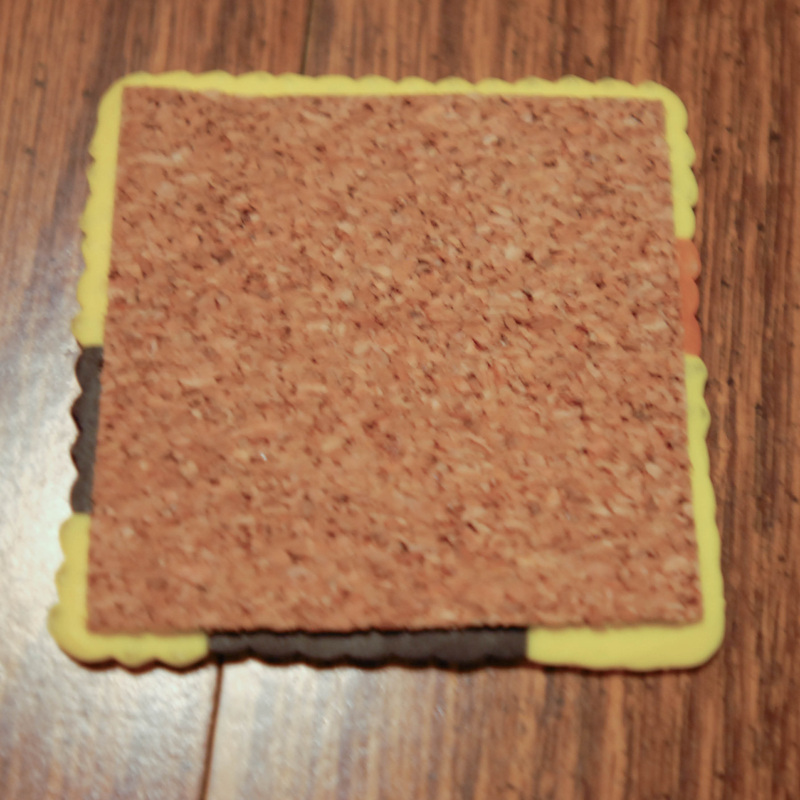
After the coasters were made I added a piece of adhesive cork to the bottom of each coaster to give it some traction. I did this same thing for the Scrabble Coasters I made.
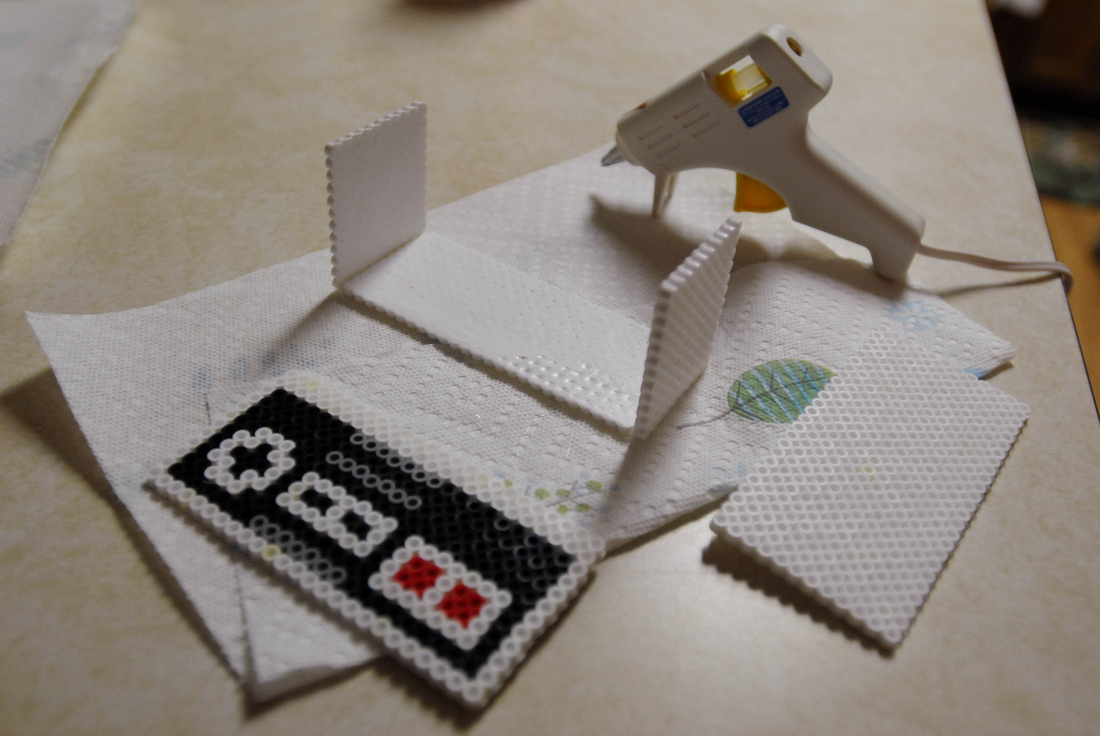
To make the controller box (for coaster storage):
First make all four sides and the bottom of the box. One correction I would like to suggest to future makes of the controller box would be to make the bottom 2 bead rows shorter to make more contact for the glue. Currently at 25 row – needs to be at 23 rows. All the rest of the sides should stay the same.
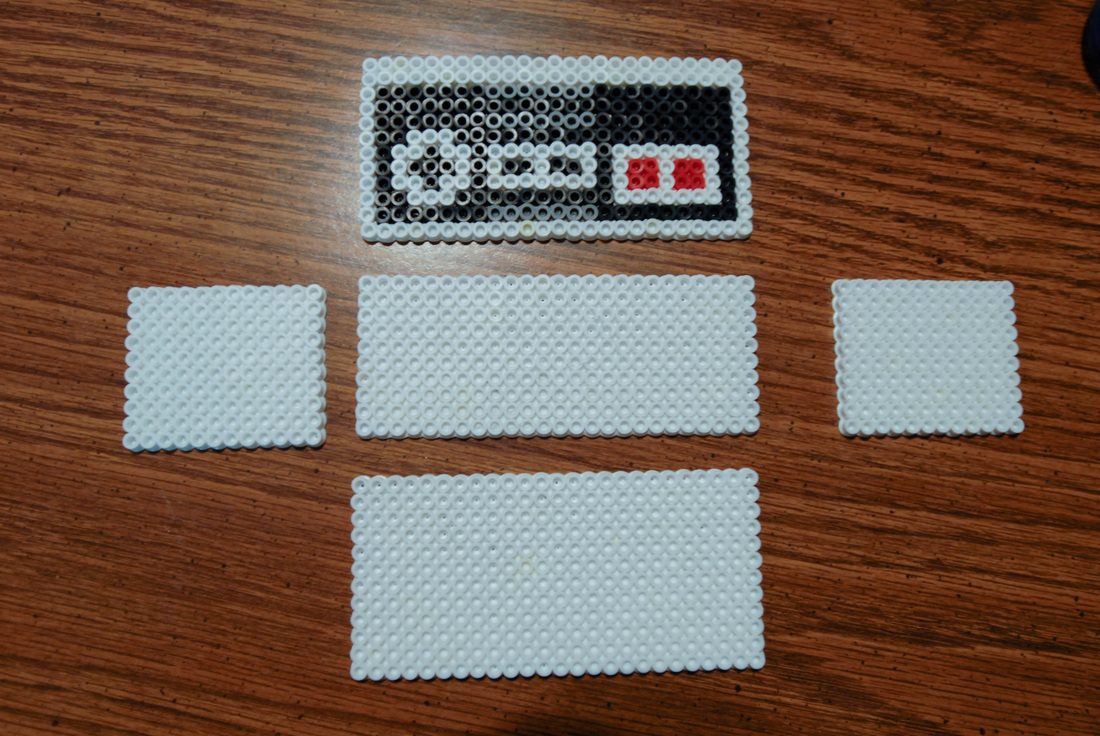
Next use the hot glue gun to attach the sides and then the bottom of the box.
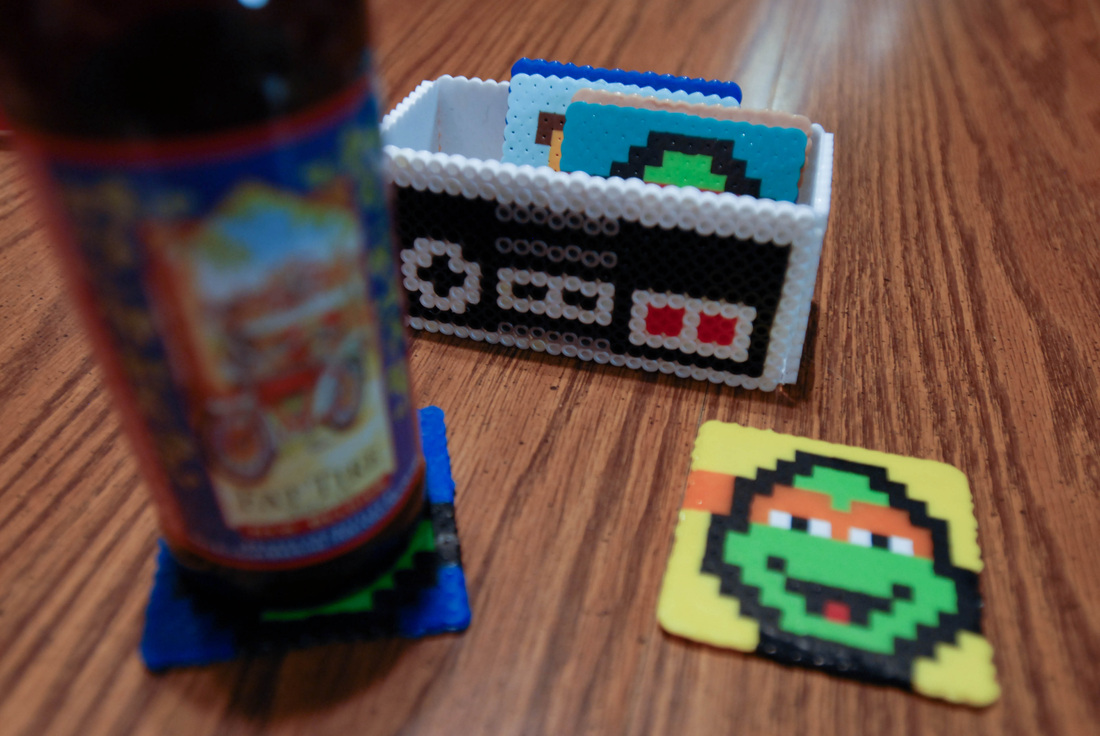
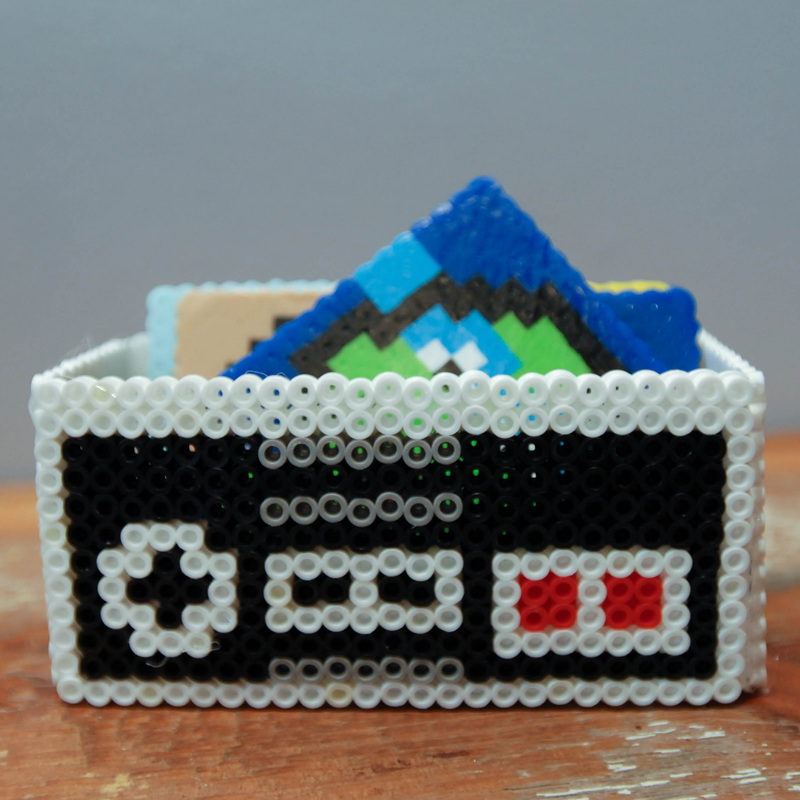
More pictures of the finished product:
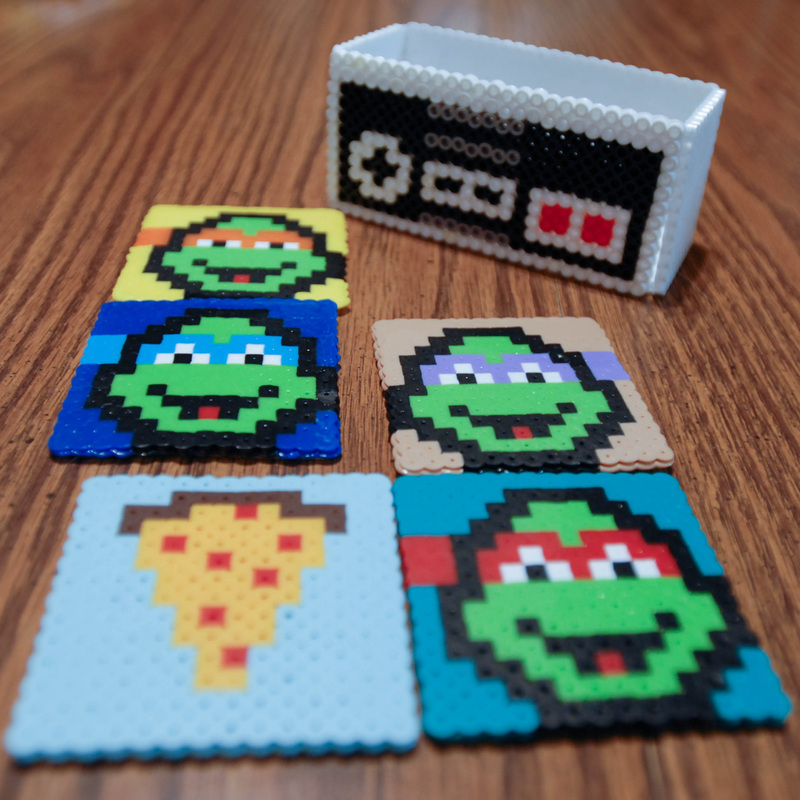
I really wanted a set of six coasters. I made many attempts at making other Ninja Turtle characters but completely failed. So instead I ended up making a Chicago Bears Coaster! GO BEARS!

Oh my word I love this!! I’m so making these with my kids (4 and ^ tonight!